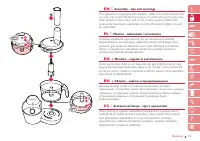
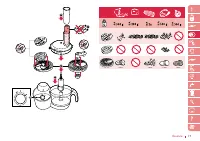
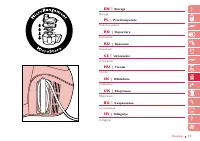
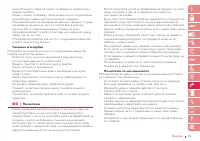
Enne hoiulepanekut määrige kettaid ja tiguvõlli taimeõliga.; Hoiustamine - Philips HR7765 - Instrukcja obsługi - Strona 55


Spis treści:
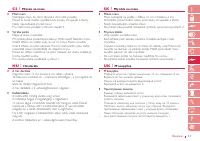
- Strona 10 – crazes or a loose grating disc.; tips; of oranges, pineapples and uncooked beetroots.
- Strona 12 – hard objects. This could cause them to become blunt.; Quick-cleaning the blender jar; Always clean the balloon beater immediately after use.; Reassembling the balloon beater
- Strona 13 – Switch off the appliance and unplug it.; storage; go to your local Philips dealer.
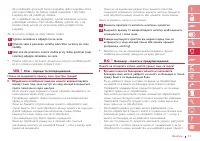
- Strona 17 – увод; Български
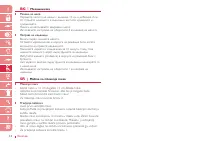
- Strona 25 – за ядене, например на портокалите, ананаса и суровото цвекло.; Месомелачка
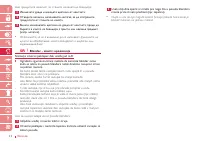
- Strona 33 – Důležité
- Strona 36 – nožová jednotka; - Zpracování pokračuje, dokud nenastavíte ovladač do polohy O.; tipy; jemnému nasekání cibule.; kotouče; - Potraviny vkládejte postupně a rovnoměrně.; nastavitelný krájecí disk
- Strona 38 – polohy nastavení pulzace.; Filtr; Přesvědčte se, zda filtr správně zapadá do dna nádoby.
- Strona 45 – sissejuhatus; EEsti
- Strona 48 – sisseehitatud ohutuslukk; kaane sakk käepideme kujule.; sisestamistoru ja tõukur
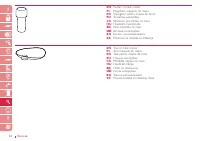
- Strona 55 – Enne hoiulepanekut määrige kettaid ja tiguvõlli taimeõliga.; Hoiustamine
- Strona 56 – Retseptid
59
Essence
Solution
Turn the bowl or lid or the blender jar clockwise until
you hear a click. Check if the screw cap has been
correctly assembled on the motor housing when the
blender is not used. Make sure that the dots indicated
on the bowl and lid are directly opposite each other
and the dot on the bowl is directly opposite the dot
on the motor housing. In case the blender is attached,
make sure the rib on the blender jar is directly
opposite the print on the motor housing.
If both the blender jar and the food-processing bowl
have been mounted correctly, only the blender will
work. If you want to use the food-processing bowl,
remove the blender jar and assemble the screw cap.
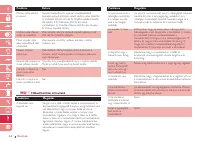
The thermal safety cut-out has probably cut off the
power supply to the appliance because it has
overheated. 1) Unplug the appliance. 2) Turn the
control knob to 0. 3) Let the appliance cool down for
60 minutes. 4) Put the mains plug in the socket. 5)
Switch the appliance on again.
Check if you have really turned the bowl and the lid
clockwise as far as the point where you hear a click.
Check whether the cutting edges of the cutter unit
are pointing outwards.
Make sure the gear housing and the cutter housing
have been assembled correctly. You will hear a click
when they have been fastened properly.
The par ts have been cleaned in the dishwasher. You
should clean all par ts by hand and dr y them
immediately with a tea towel.!
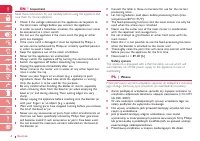
Problem
The appliance doesn't
go on
Both the blender jar
and the food
processing bowl are
attached, but only the
blender works.
The appliance
suddenly stopped
running
The kneading or
balloon beater doesn't
turn.
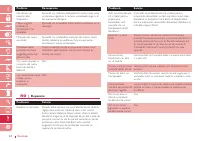
The meat looks as if it
has been 'pressed
through' rather than
minced.
The meat mincer
does not work.
The metal par ts of
the meat mincer look
rusty.
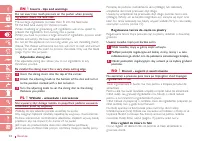
EN
|
Troubleshooting guide
Solution
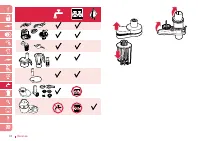
No!
No!
Problem
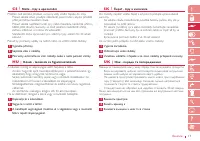
Can I also mince
bones or bacon rind
with the meat mincer?
Is it possible to mince
frozen meat with the
meat mincer?
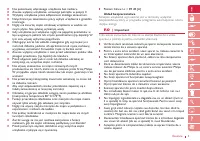
PL
|
Rozwiązywanie problemów
Rozwiązanie
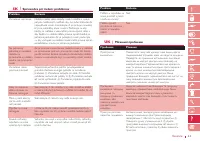
Obróć miską lub pokr ywą dzbanka blendera w
kierunku zgodnym z ruchem wskazówek zegara, aż
usłyszysz kliknięcie. Sprawdź, czy na obudowę silnika
została prawidłowo założona zatyczka na czas
nieużywania blendera. Upewnij się, że kropki na misce
oraz na pokr ywie znajdują się naprzeciwko siebie, i że
kropka na misie znajduje się naprzeciwko kropki na
obudowie silnika. W przypadku założenia blendera
należy sprawdzić, czy występ na dzbanku blendera
znajduje się dokładnie naprzeciwko nadruku na
obudowie silnika.
Jeśli zarówno dzban blendera, jak i miska malaksera
zostały zamontowane prawidłowo, wówczas będzie
działał tylko blender. Jeśli chcesz skorzystać z misy
malaksera, zdejmij dzbanek blendera i załóż zatyczkę.
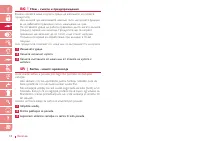
Prawdopodobnie z powodu przegrzania urządzenia
termiczny wyłącznik bezpieczeństwa odciął dopływ
prądu. 1) Wyjmij wtyczkę z gniazdka ściennego. 2)
Obróć pokrętłem do war tości zerowej. 3) Odczekaj
60 minut, aż urządzenie ostygnie. 4) Włóż wtyczkę do
gniazdka ściennego. 5) Ponownie włącz urządzenie.
Problem
Urządzenie nie
uruchamia się.
Zarówno dzbanek
blendera, jak i miska
malaksera są
podłączone do
urządzenia, ale pracuje
tylko blender.
Urządzenie nagle
zatrzymało się.
"Ładowanie instrukcji" oznacza, że należy poczekać, aż plik się załaduje i będzie można go czytać online. Niektóre instrukcje są bardzo obszerne, a czas ich ładowania zależy od prędkości Twojego internetu.
Podsumowanie
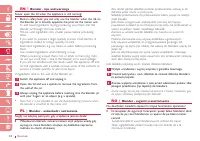
13 Essence EN | Assembly - tips and warnings This appliance is equipped with a built-in safety lock which ensures thatyou can only switch the food processor on when the accessories havebeen placed on the motor unit in the correct position. When theaccessories have been assembled correctly, the built...
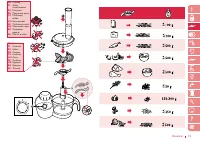
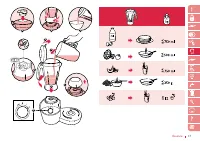
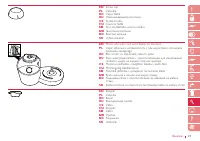
15 Essence 1 1 2 4 5 3 6 EN Nutmeg PL Gałkamuszkatołowa RO Nucşoară RU Мускатный орех CS Muškátovýoříšek HU Szerecsendió SK Muškátový orech UK Мускатний горіх BG Индийскоорехче SR Morski oraščić EN Turmeric PL Kurkuma RO Şofran RU Специи CS Kurkuma HU Curry SK Kurkuma UK Куркума BG Куркума SR Tumeri...
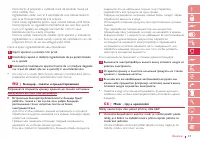
16 Essence RO | Cuţit - sugestii şi avertismente Puneţi întotdeauna cuţitul în bol înainte de a adăuga ingredientele.- Dacă tăiaţi ceapă, apăsaţi de câteva ori funcţia impuls pentru a evitatăierea prea fină a cepei. - Nu lăsaţi aparatul să funcţioneze prea mult timp când radeţicaşcaval (uscat, tip p...
Inne modele roboty kuchenne Philips
-
 Philips HR7510/00
-
 Philips HR7510/00 Viva Collection
-
 Philips HR7530/10 Viva Collection
-
 Philips HR7620
-
 Philips HR7625
-
 Philips HR7628-00
-
 Philips HR7638
-
 Philips HR7723
-
 Philips HR7724
-
 Philips HR7727