Philips HR7768 - Instrukcja obsługi
Robot kuchenny Philips HR7768 – Instrukcja obsługi, czytaj za darmo online w formacie PDF. Mamy nadzieję, że to pomoże rozwiązać wszelkie problemy, które mogą się pojawić. Jeśli masz dodatkowe pytania, skontaktuj się z nami za pomocą formularza kontaktowego.


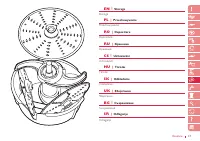


Spis treści:
- Strona 5 – EnglisH
- Strona 8 – Хранение; Поместите шнур в отделение для хранения шнура позади; защита окружающей среды
- Strona 9 – рецепты; Тесто для пиццы
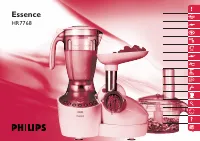
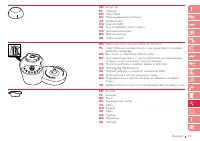
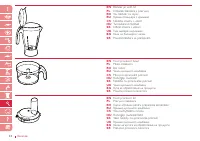
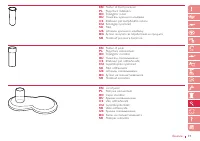
HR7768
Essence
"Ładowanie instrukcji" oznacza, że należy poczekać, aż plik się załaduje i będzie można go czytać online. Niektóre instrukcje są bardzo obszerne, a czas ich ładowania zależy od prędkości Twojego internetu.
Podsumowanie
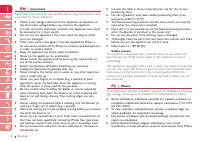
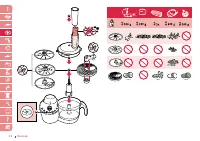
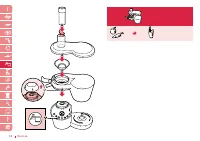
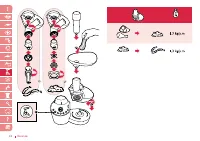
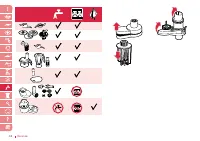
◗ Przed pierwszym użyciem dokładnie umyj wszystkie częściurządzenia stykające się z żywnością. ◗ Poziom hałasu: Lc = 89 dB [A] Układ bezpieczeństwa Niniejsze urządzenie wyposażone jest w termiczny wyłącznikbezpieczeństwa, któr y, w przypadku przegrzania, automatycznie odcinadopływ energii. Niniejsze...
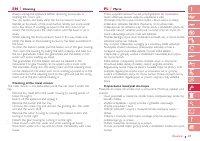
13 Essence EN | Smart Control - tips and warnings - The unique Smar t Control program of your food processor allowsyou to easily and quickly choose the optimal power for the recipeyou are preparing, by simply pressing one of the buttons on thefront of your machine. - Each process button is linked to...
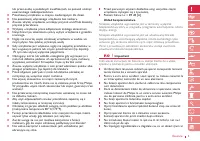
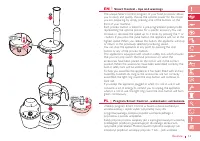
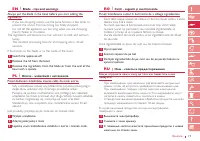
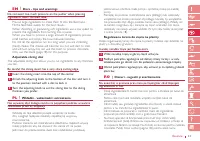
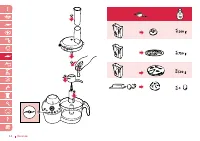
14 Essence Ajutor pentru Montare Uşoară. Atâta timp cât accesoriile nu suntcorect montate, inelul luminos din jurul butonului de oprire clipeşteîn roşu. - Dacă lăsaţi aparatul conectat la priză când nu-l folosiţi, va consumaenergie. Pentru a vă reaminti să scoateţi ştecherul din priză, inelulluminos...